When I was about six or somewhere around that age, my grandma taught me how to make these. The more yarn you use, the more plump and plush they turn out. The styrofoam balls are 2.5" if you care to know. The bigger the ball for the head, the more yarn you need to make the body look in proportion to the head. You'll see what I mean as I show you pictures of the process.
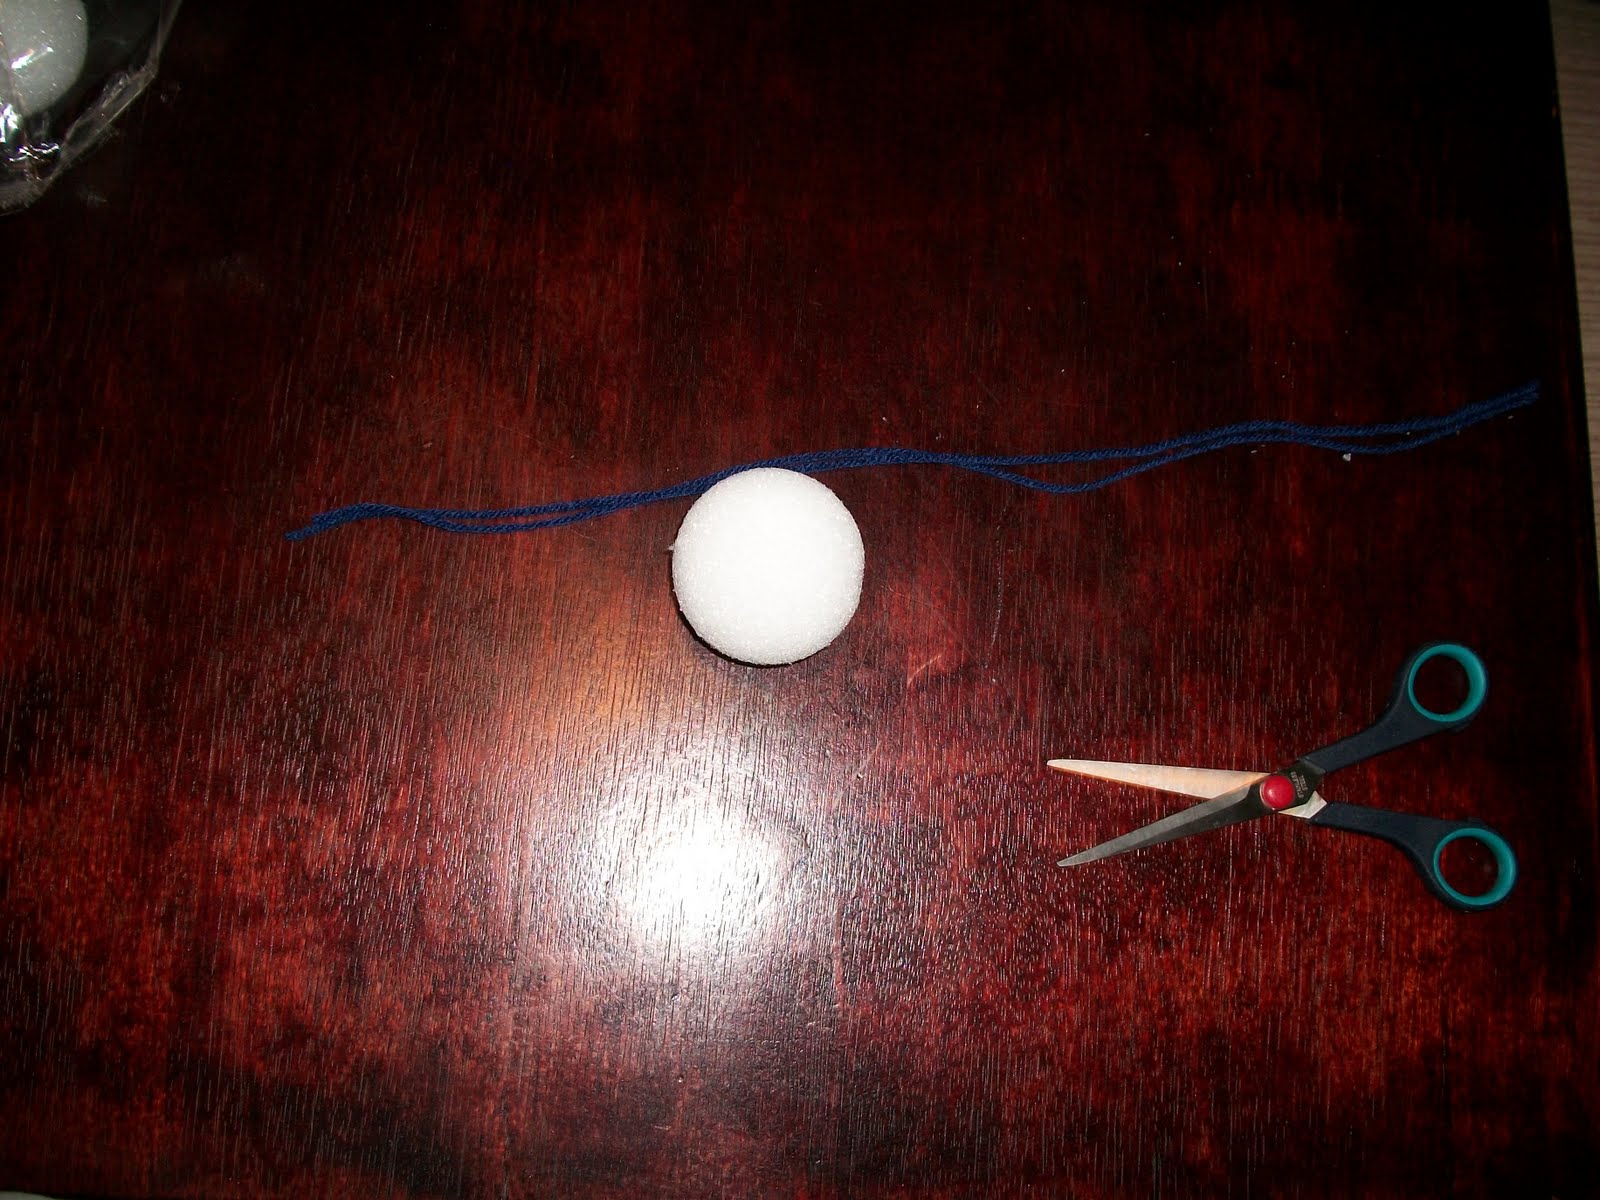
Step 1: Gather supplies, yarn, scissors, and styrofoam ball. It takes at least half of a 7oz. skein of yarn, but use more if you want plumper more fluffy looking dolls.

Step 3: Start cutting your yarn into strands at the length desired, or you can cheat like me and find an object to wind the yarn around and then cut it off to have your strands all the same length.

Step 4: Determine the length of the hair and tie a piece of yarn to divide the hair from the head.

Step 5: Turn the whole yarn thingy inside out so you can find the middle of the inside where you tied the string.

Step 6: Put the foam ball in place, then quickly turn it over and let the yarn fall all around the foam ball. Then secure the ball in place, by tying another string around where the neck will be.


Step 7: Lay the doll which is just head and hair and body right now and divide out small portions of yarn on each side to be the arms.

Step 8: Tie string where the wrist will be. Then cut off the extra length of yarn just leaving enough for her 'hands'.

Step 9: Find her waist and tie another string, and you are done if it is a girl with a skirt. You can trim her skirt if you want, or you could even go into the center of the yarn and make two little legs, doing what you did for the arms, tying off at the ankles and cutting the yarn to make a poof for the feet.

My second attempt today I got a little fancy and made a girl with a skirt, but you can see her feet poking out from under the skirt. She also has a longer pony tail and her whole body is longer in general.

I like the longer pony tail look rather than the mullet look of my first one. I even tried to trim the bangs a bit, but it looks even more like a mullet now. For a boy, crop the hair sort of close to the head. Here is a pic of the blue mullet up close.

Google eyes are an options as well, and/or felt eyes, nose, mouth. Be creative. I didn't want faces on these because I'm pretty sure my girls would just spend the next twenty minutes ripping them off. :-)
For boy dolls, you divide the yarn below the waist into two legs and tie off at the ankles and make poofs for the feet. Super simple, super fun project for little girls.
The end.
1 comment:
Cute! I am definitely going to make one of these for the girls!
Post a Comment